To save time and effort, you can now import multiple employee salaries at once using a bulk action. This allows you to quickly and easily transfer several or even collective salary adjustments to Kenjo.
- Go to Settings > Data import
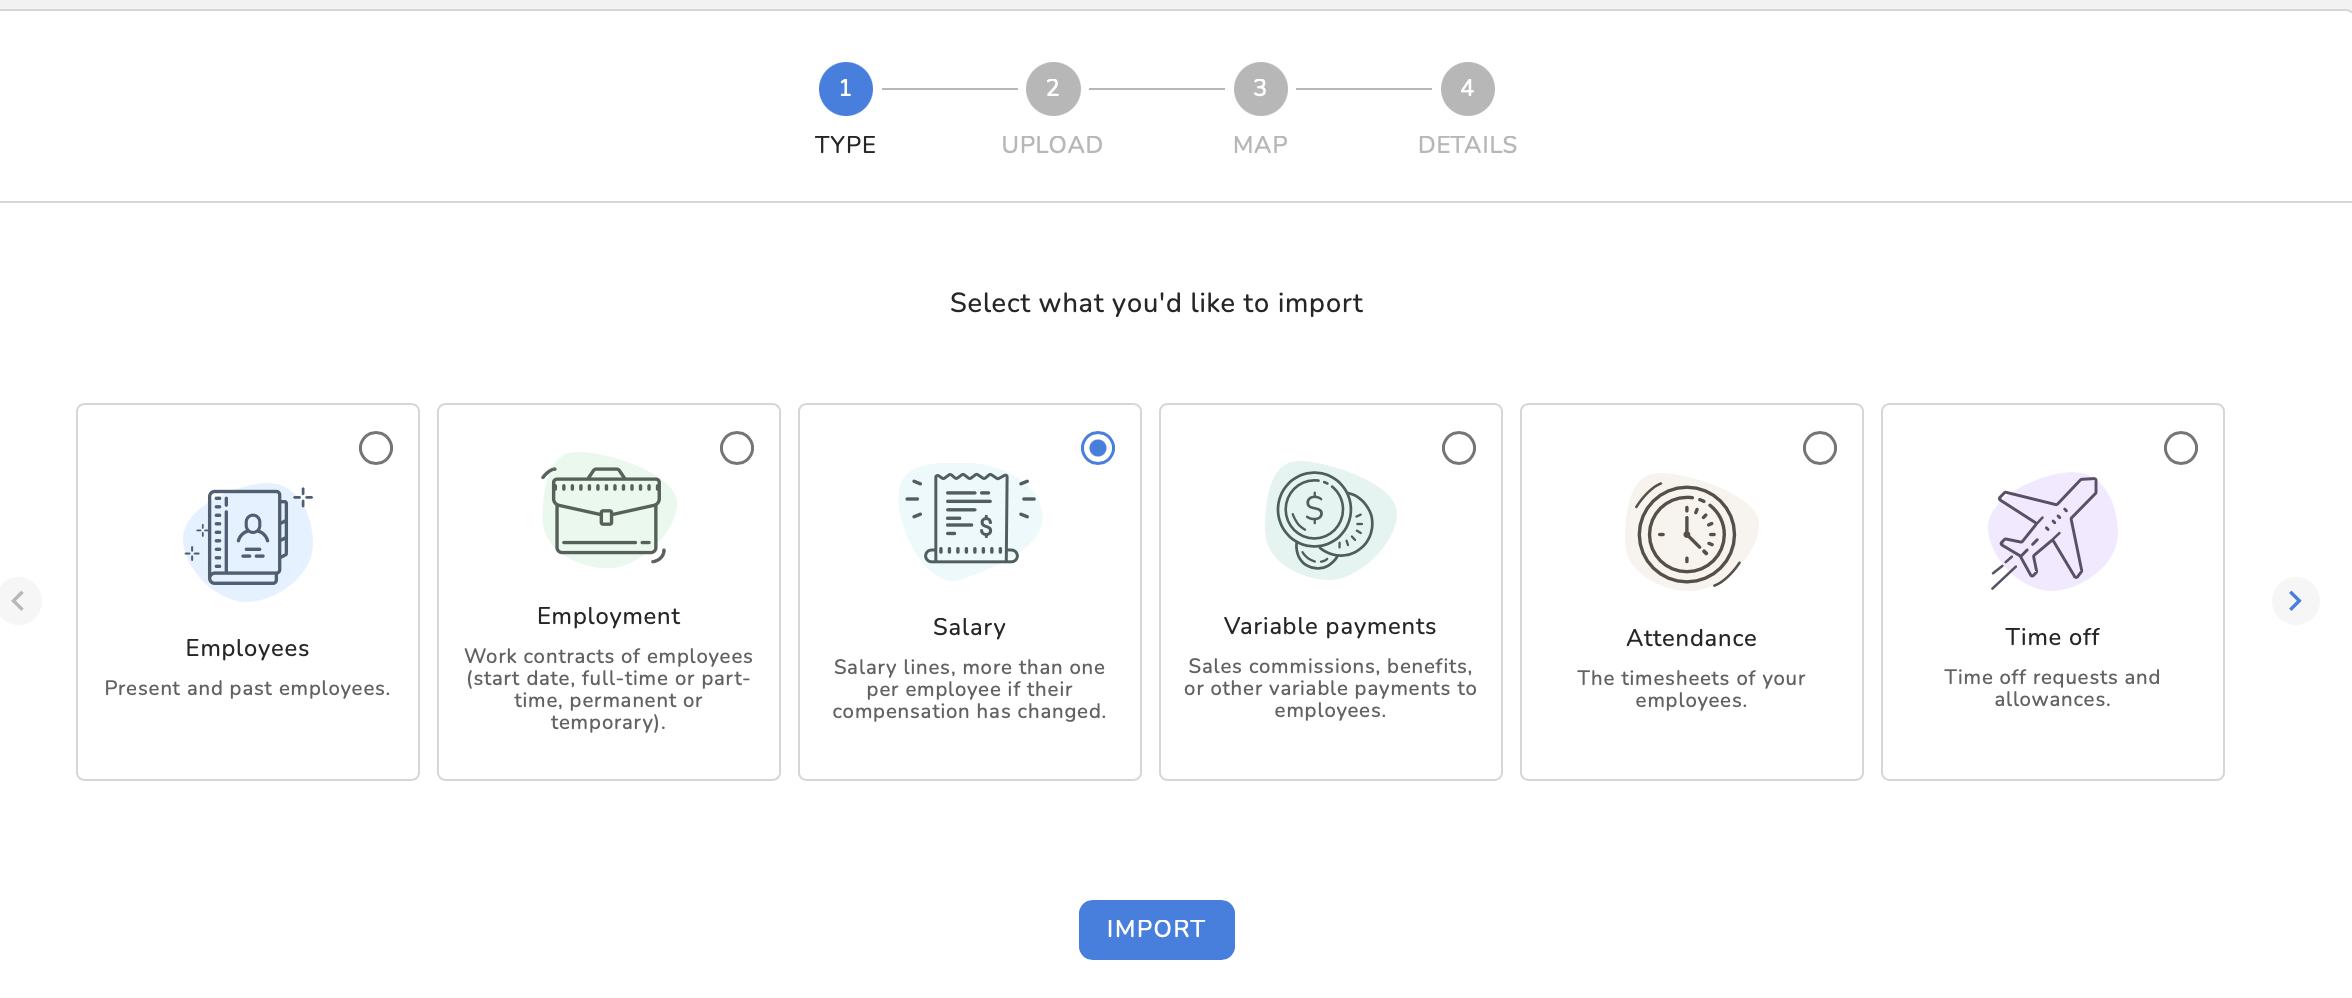
- Select Salary
- Click on IMPORT
- Select the language for the column headers
- Download the provided template and fill it in
- If you have any questions, refer to our related article
Filling in the template
- Columns marked with * are mandatory and must be filled out.
- Tip: To avoid manually checking each employee’s data, go to: https://app.kenjo.io/cloud/analytics/dashboard/detail/salaries
Example of a completed template
|

| Column header | Description |
| Business email address * | Select the business email address stored for the employee in Kenjo. |
| Company * | Select the company where the employee works. |
| Valid from * | Enter the date from which the new salary should apply. |
| End date | If the new salary has an end date, enter it here. |
| Payment type | Specify whether the salary is paid hourly, monthly, or annually. |
| Amount | If it’s a monthly or yearly salary, enter the respective amount here. |
Important: The amount you enter refers to a full-time salary as defined by your company. If the employee works part-time, this amount will be multiplied by the percentage defined in the Part-time column. Always enter the salary amount for 100% (full-time).| Hourly rate * | For hourly-based employees, enter the hourly rate here. |
| Currency * | Enter the currency in which you pay your employees. |
| Part-time * (1 to 100) | Enter the percentage of working hours for this employee. |
Important: To correctly specify part-time, you must know how many hours equal 100% (full-time) in your company. For example, if full-time equals 40 hours per week and an employee works 32 hours, that equals 80%.| Close salary | Specify whether the existing salary should be closed. It will end one day before the start date of the new salary. Recommendation: Before starting a new salary for an employee, always close the existing one first. |
| Comments | Optionally, add a comment. |
- Once you’ve filled in the template completely, save it.
- Select or drag & drop the file to upload.
- Click UPLOAD.
- As no new columns were added, all columns will already be correctly matched with the corresponding Kenjo fields and marked with a green check mark.
- Click CONFIRM.

- The new salary information can now be found under Employees
- Select an employee and go to the Salary tab
- You will see the new salary in the section
Was this article helpful?
That’s Great!
Thank you for your feedback
Sorry! We couldn't be helpful
Thank you for your feedback
Feedback sent
We appreciate your effort and will try to fix the article